Outlet
Use the Outlet screen to add, edit, or delete outlet records.
Click on the Outlet menu from the left sidebar on CoolR Portal. You will see the Outlet screen on the right.
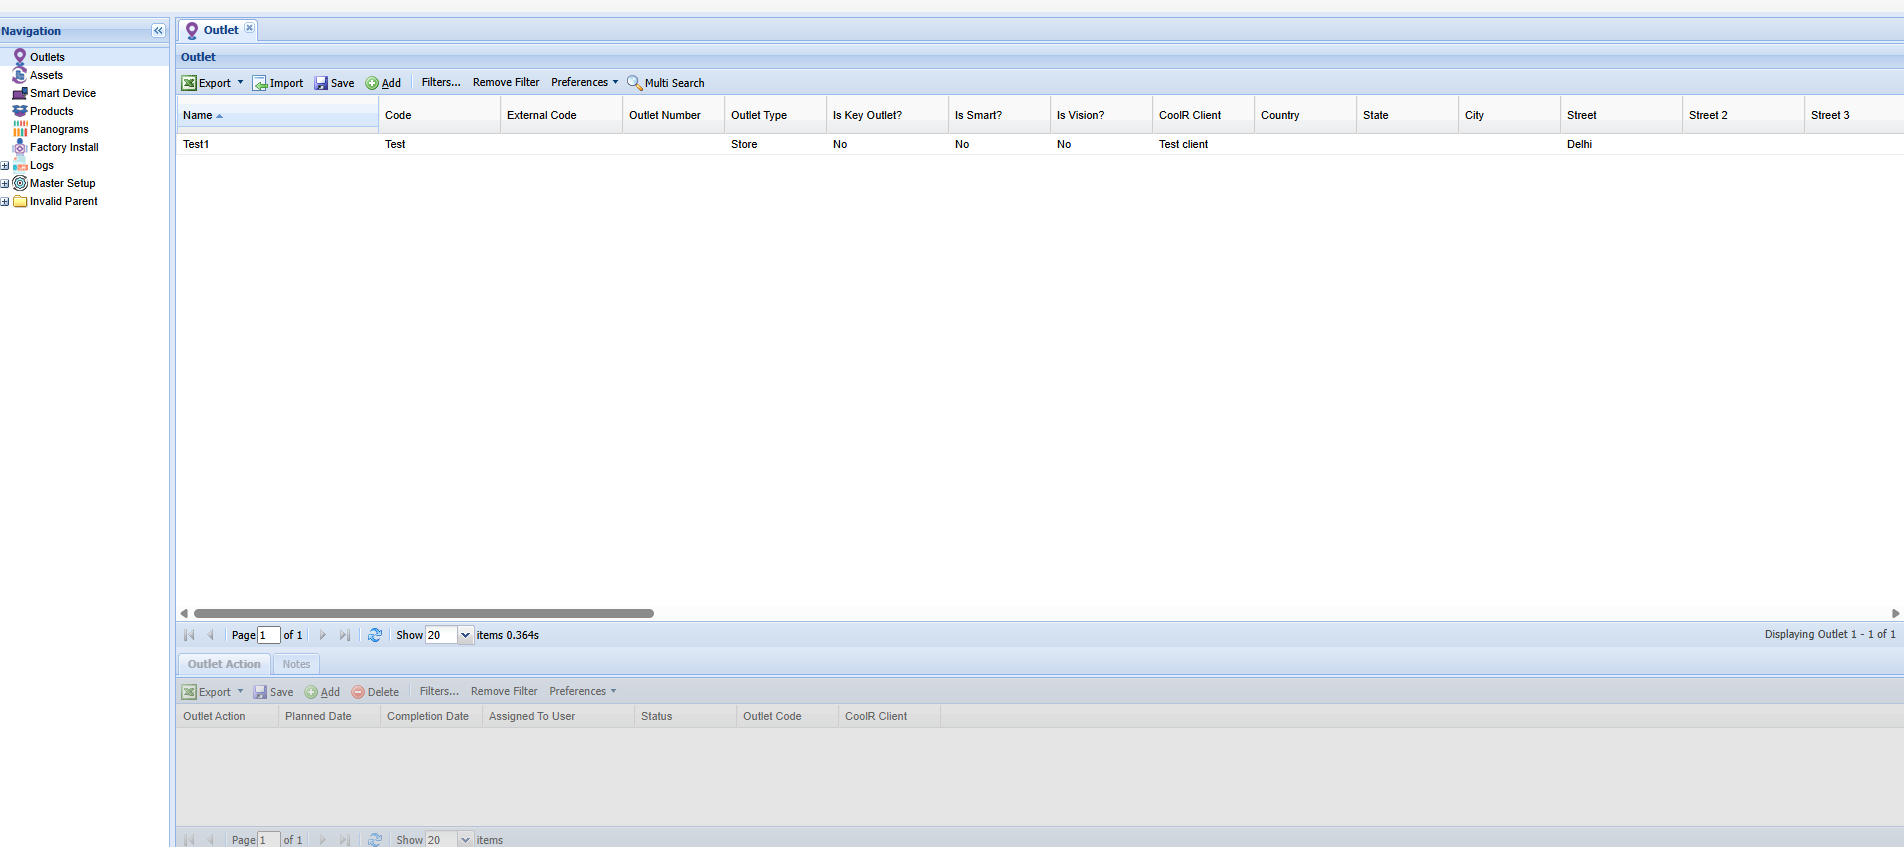
Add New Outlet
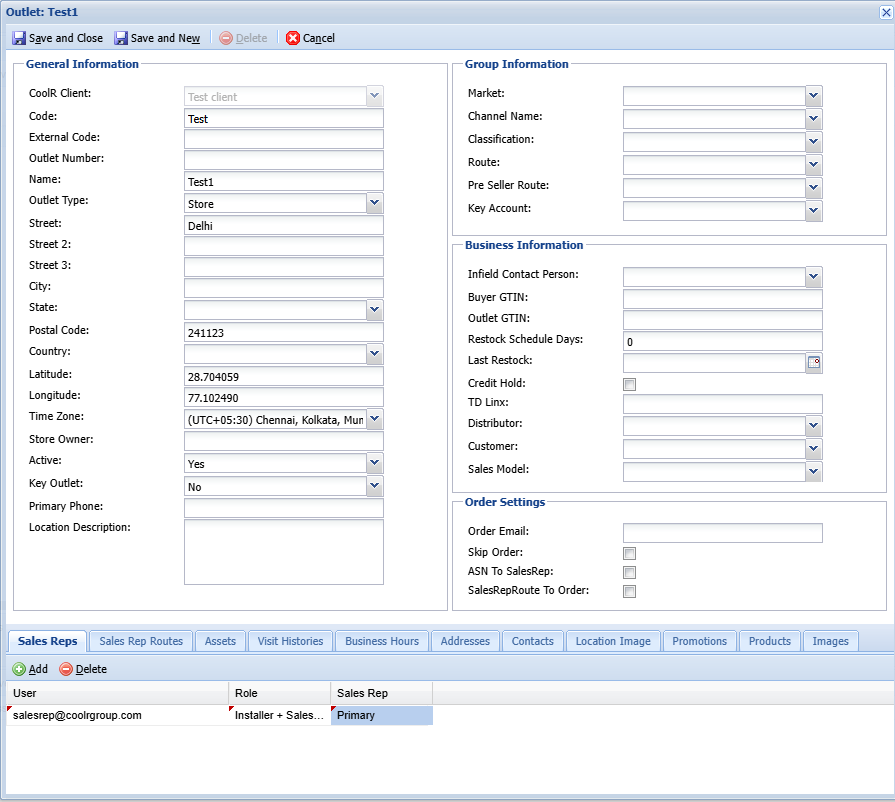
Click the Add button on the Actions ribbon. You will see the Outlet Details Form. Fields marked in red are required.
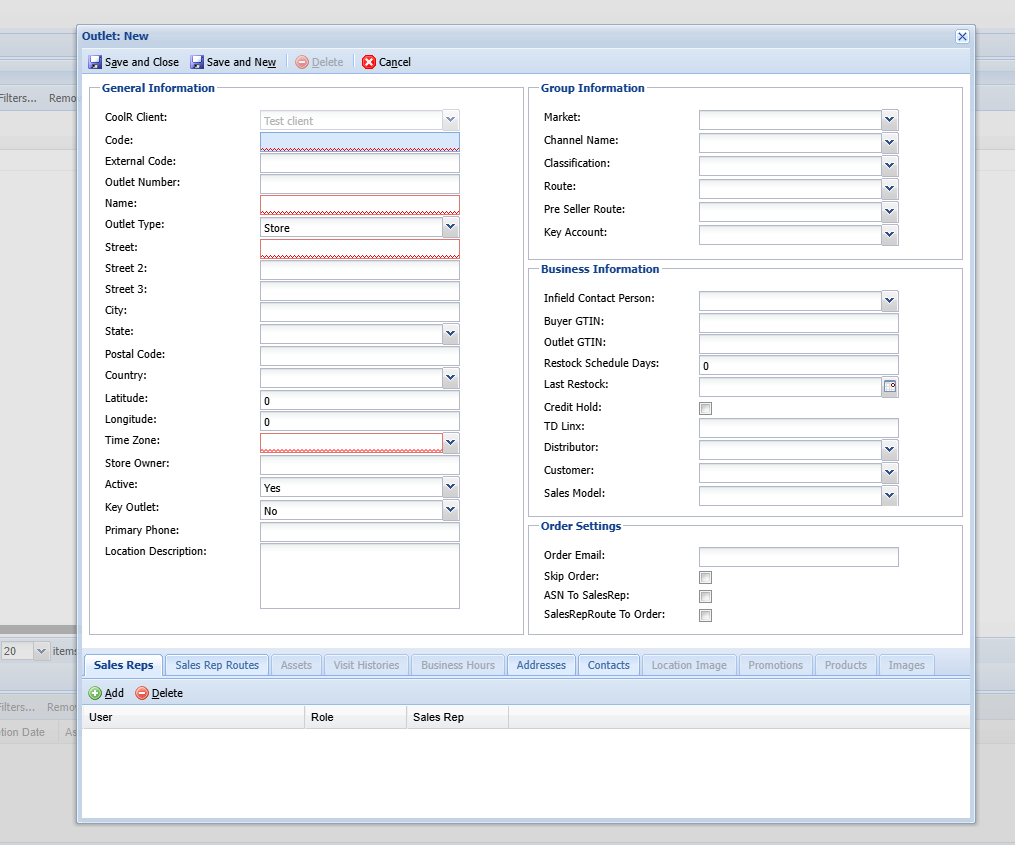
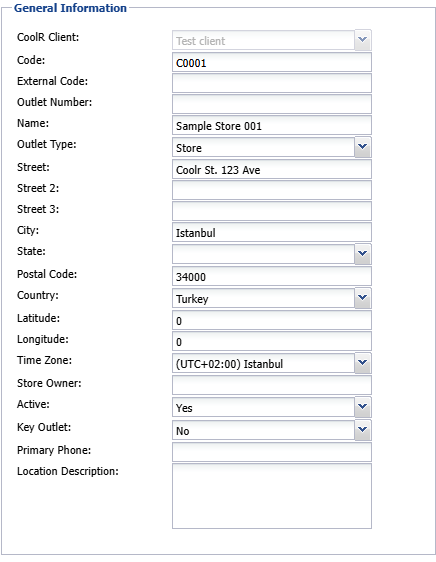
Complete the required fields. Left panel is for Outlet Information such as Name, Code, Address etc.
You can select Market, Channel, Classification and other information on the top right panel.

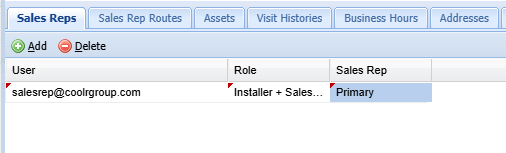
You need to add a Primary Sales Rep for each outlet. Sales Rep can be added in the panel at the bottom of the form.
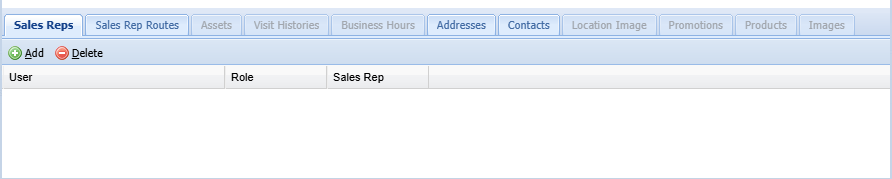
Click the Add button on the Actions ribbon. Select the Sales Rep from the dropdown. Add Role and Sales Rep fields.
Select Save and Close to save the Outlet.
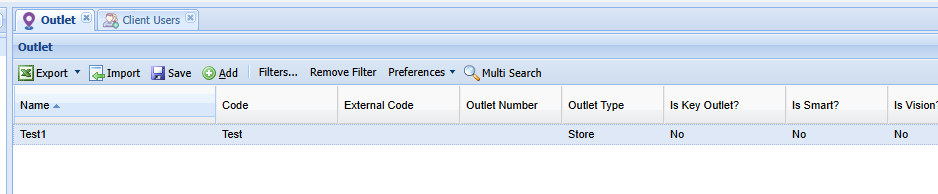
You will see the new outlet in the Outlet screen.
Edit or Deactivate an Outlet
Double-click the Outlet to open its details form.
 Update the relevant fields.
You can change Active: field to No if you want to Deactivate an Outlet.

Select Save and Close to save the Outlet. You will see the outlet with updated information in the Outlet screen.